Learn how to write on a cake beautifully without using stencils. Juliet from WaraCake shares professional tips on layout, icing consistency, and hand positioning.
Writing on a cake for the first time feels a lot like being asked to sign a legal document with a bottle of ketchup. The pressure is immense because the cake is finished, the frosting is smooth, and one slip of the hand can feel like a disaster. Most professional bakers at WaraCake have spent years perfecting their steady hand, but you do not need a decade of experience or a plastic stencil to achieve a clean look. With a few household items and a bit of patience, you can pipe messages that look elegant and intentional. This guide will walk you through the techniques to master freehand lettering while keeping your nerves in check.
Planning your layout with a toothpick
The biggest mistake beginners make is starting to pipe without a map. Even if you have beautiful handwriting on paper, the circular shape of a cake can distort your perception of space. Before you touch your piping bag, take a simple wooden toothpick. Lightly sketch your letters onto the surface of the chilled frosting. If you make a mistake, you can gently smooth the frosting back over with a warm palette knife and try again. This ghosting technique allows you to see if your word Happy is going to fit on the same line as Birthday before it is too late. Once you are happy with the spacing, you simply pipe directly over the faint lines you have drawn.
Choosing the right consistency of icing
Success in cake writing is fifty percent technique and fifty percent chemistry. If your icing is too stiff, it will break as you pull your hand away, leaving jagged edges. If it is too runny, the letters will spread into unreadable puddles after ten minutes. The ideal writing icing should be a soft peak consistency. When you lift a spoon out of the bowl, the icing should form a point that slightly droops at the tip. Many decorators prefer using a chocolate ganache or a thinned out buttercream for this task. Using a contrasting colour is also helpful, but ensure the base cake has been refrigerated so the writing does not bleed into the background.
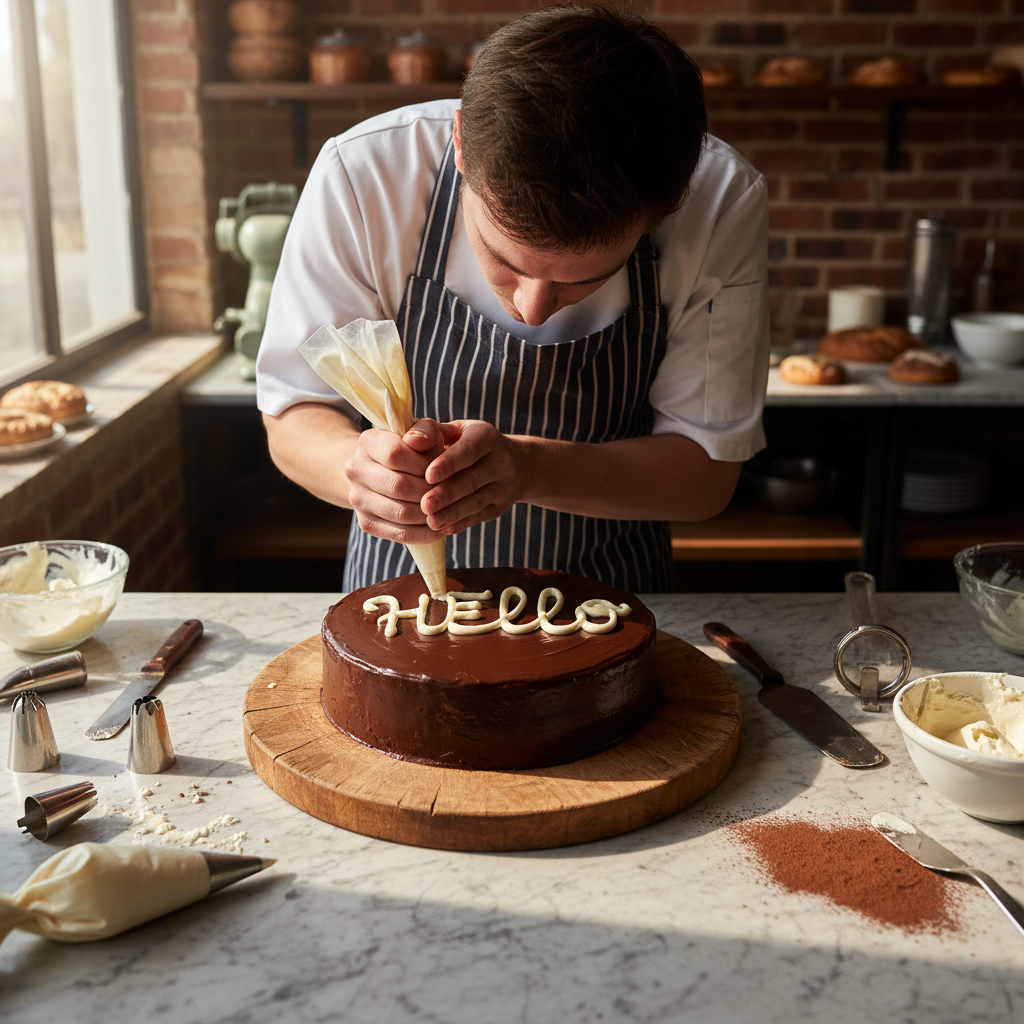
The mechanics of the piping bag
How you hold your tools determines the flow of your script. Most people grip a piping bag like a pen, but this often leads to shaky lines because you are using your small finger muscles. Instead, tuck the end of the bag into the palm of your hand and use your thumb to apply consistent pressure. Use your other hand to steady your piping wrist, almost like a bridge. You should not be dragging the metal tip through the icing. Instead, touch the tip to the surface to start the letter, lift it slightly to let the icing fall in a line, and then touch it down again to finish the stroke. This elevated technique creates a rounded, professional look.
Mastering print vs script styles
If you are nervous about your handwriting, choose a style that plays to your strengths. Block lettering or print is often easier for beginners because you can stop and start after every letter. This gives you a moment to breathe and check your spacing. If you want a more sophisticated look, cursive or script is beautiful but requires a continuous flow of pressure. For script, do not try to write the whole word in one go. You can stop at the end of a letter, overlap the next stroke, and continue. This hides the breaks and makes the writing look like a singular, flowing ribbon.
Fixing mistakes without starting over
No matter how careful you are, a tail on a letter might twitch or a word might be slightly off centre. The secret to fixing these blunders is time and temperature. Do not try to wipe away wet icing immediately. You will only smear the pigment into the base frosting, creating a permanent smudge. Instead, put the cake back into the fridge for at least thirty minutes until the writing is firm. Once it is cold, you can usually pop the offending letter off with the tip of a small knife or a toothpick without leaving a trace. Once the mistake is removed, you can re-pipe that specific section.
Practising on a flat surface
If the thought of piping directly onto your masterpiece is still too daunting, practice on the back of a baking tray or a piece of parchment paper. Draw a circle the same size as your cake on the paper and practice your message repeatedly. This builds muscle memory and helps you understand how much pressure you need to apply to get a consistent line width. You can even scrape the practice icing back into the bowl and reuse it, making this a zero waste exercise. Once your hand feels steady and the rhythm of the letters feels natural, move to the actual cake.
Adding decorative flourishes to hide flaws
Sometimes a message looks a bit lonely in the middle of a large cake. If your lettering is slightly off centre, you can balance the visual weight by adding small decorative elements. Small dots, tiny piped flowers, or even a few sprinkles at the start and end of a sentence can distract the eye from minor inconsistencies in the script. These flourishes add a professional touch and make the freehand writing look like a deliberate part of a larger artistic design.
Writing on a cake is a skill that improves quickly with a bit of focus and the right preparation. If you would rather leave the piping to the professionals, the team at WaraCake is always ready to help with your custom celebrations.
Feel free to browse our latest designs and let us take care of the decorating for your next special occasion.