Learn the professional techniques to colour your buttercream perfectly. Avoid splitting and curdling with our guide on temperature, emulsification, and colour selection.
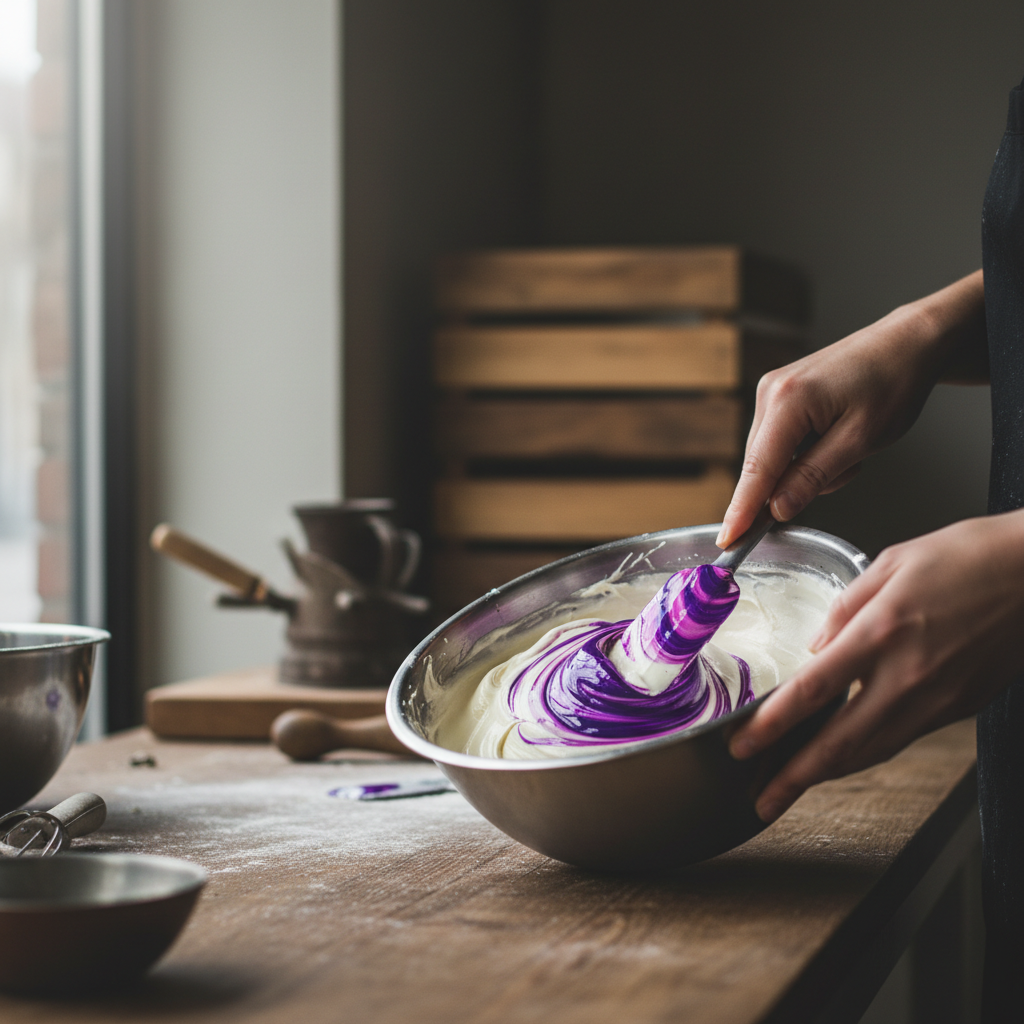
Getting that perfect shade of deep navy or vibrant crimson for your cake can feel like a high stakes chemistry experiment. You have spent an hour whipping your butter and icing sugar into a fluffy cloud, only for it to turn into a curdled, grainy mess the moment you add a drop of purple. When buttercream splits after adding colour, it is usually because the delicate balance of fat and liquid has been disrupted. Understanding how to incorporate pigments while maintaining a silky texture is what separates a professional finish from a kitchen disaster.
- The science of why buttercream splits
To prevent splitting, you first need to understand that buttercream is an emulsion. Whether you are making crusting American buttercream or a silky Swiss meringue version, you are essentially trying to suspend tiny droplets of water or sugar syrup within a base of fat. Most food colourings are water based or glycerine based. Oil and water famously do not mix well. When you add too much liquid colour too quickly, the fat molecules can no longer hold the liquid in suspension. This causes the mixture to break, leaving you with a bowl of soup punctuated by greasy lumps of butter.
- Choosing the right type of colourant
The most common mistake beginners make is using supermarket liquid food colours. These are very thin and contain a high percentage of water. Because they are weak, you have to use a lot to get a bright result, which almost guarantees your frosting will split. For high quality baking, gel pastes or oil based colours are the industry standard. Gel colours are highly concentrated, meaning you only need a tiny amount to achieve deep hues. Oil based colours are specifically formulated to bond with fats, making them the perfect choice for chocolate and high fat buttercreams.
- The importance of temperature control
Temperature is the silent enemy of a stable emulsion. If your butter is too cold when you start, the colour will not disperse evenly, leading you to overmix. If the butter is too warm and starting to melt, it cannot hold the structure needed to trap the colour. Always ensure your buttercream is at a comfortable room temperature, roughly twenty one degrees Celsius, before you begin the colouring process. If you notice the mixture starting to look grainy as you add colour, stop and feel the bowl. If it feels cold, the fat has hardened. A quick five second burst in the microwave for a tiny portion of the frosting, then folded back in, can often smooth things out.
- The microwave method for dark tones
Achieving deep colours like black or burgundy is notorious for causing splitting because of the sheer volume of pigment required. Many professionals use the microwave method to solve this. Take a small cupcake sized portion of your white buttercream and add a generous amount of colour to it. Microwave it for five to ten seconds until it just starts to melt into a liquid. Stir it well and then fold this concentrated liquid back into your main batch of frosting. This helps the colour develop instantly and ensures it is fully emulsified without the need for endless stirring that can overwork the fats.
- Emulsifying with a blender
If you find that your buttercream looks speckled or slightly separated after adding gel, an immersion blender can be a lifesaver. Using a paddle attachment on a stand mixer is great for aeration, but the blades of a hand blender are much more effective at forcing the fat and pigment molecules together. Only do this for a few seconds to avoid warming the butter too much. This technique produces the smoothest, most vibrant finish and is a secret weapon at WaraCake when we need to ensure our signature designs look flawless and consistent.
- Timing and development
Patience is a key ingredient in cake decorating. Most gel colours darken over time as the pigment hydrates. Instead of adding half a bottle of blue food colouring to get a navy shade instantly, add a smaller amount and let the buttercream sit for an hour. You will often find the shade deepens significantly on its own. By letting time do the work, you reduce the risk of adding so much liquid that the frosting eventually breaks. This approach keeps the structural integrity of your piping intact, ensuring those sharp edges on your cake do not sag or weep.
- How to fix a split batch
If the worst happens and your frosting has already separated, do not throw it away. You can usually save it by applying gentle heat. Set your bowl over a pot of simmering water for thirty seconds, whisking constantly. You want to slightly melt the edges of the butter so they can reincorporate with the liquid pigment. Once it looks smooth again, pop the bowl in the fridge for ten minutes to firm up, then whip it on low speed. It might not be as airy as it was initially, but it will be smooth and usable for filling or a crumb coat.
Perfecting the art of vibrant, stable frosting takes practice and a bit of patience. By using concentrated gels and paying attention to the temperature of your ingredients, you can achieve any rainbow of colours without ruining your texture.
If you would rather let the professionals handle the kitchen chemistry for your next celebration, you can find a wide range of beautifully coloured designs at WaraCake. Our team takes great pride in delivering smooth, perfectly emulsified finishes on every order.